Quick Start Walkthrough
Welcome to KeeperRL. If you’ve never played before, this should help you get up to speed.
(Screenshots reflect an Alpha build. They’ll be replaced as we can.)
Start Here
Download the free KeeperRL ZIP demo file. Unzip. There is no install required. The program “keeper.exe” is simply run in place.
Alternatively, purchase the graphical and audio version from Steam.
- Press space on the intro to get the main menu
- The Main Menu will come up. The options will be “Play game”, “Change settings”, “View highscores”, “view credits”, “quit”.
- Play the game
- Choose the Classic faction. Wizards take a little longer to reach full power, whereas Knights hit hard from the start but get a little one-dimensional near the end.
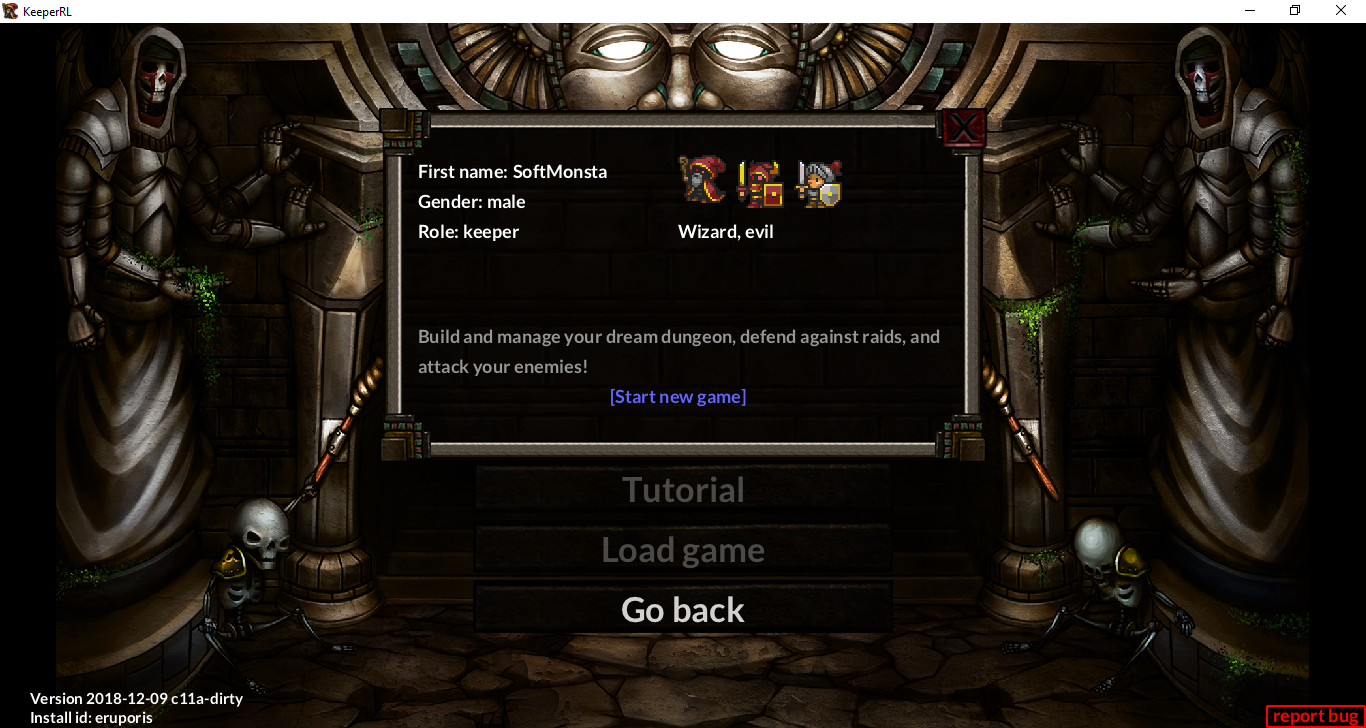
- If this is your very first game, play the tutorial first: (Note, some players get lost in the black unexplored area of the map when playing for the first time. To find your keeper again, press ‘k’).
- If this is not your first go, click the “keeper” button and then “confirm”
These videos show other players gaming on KeeperRL.
Keepers are evil tyrants who commit war crimes; even the Castle knight does some pretty mean things to win. If you want to be a hero (in the Conquering Barbarian Hero sense), try playing an adventurer.
A new campaign map showing map sectors will be displayed. It may look something like this one:
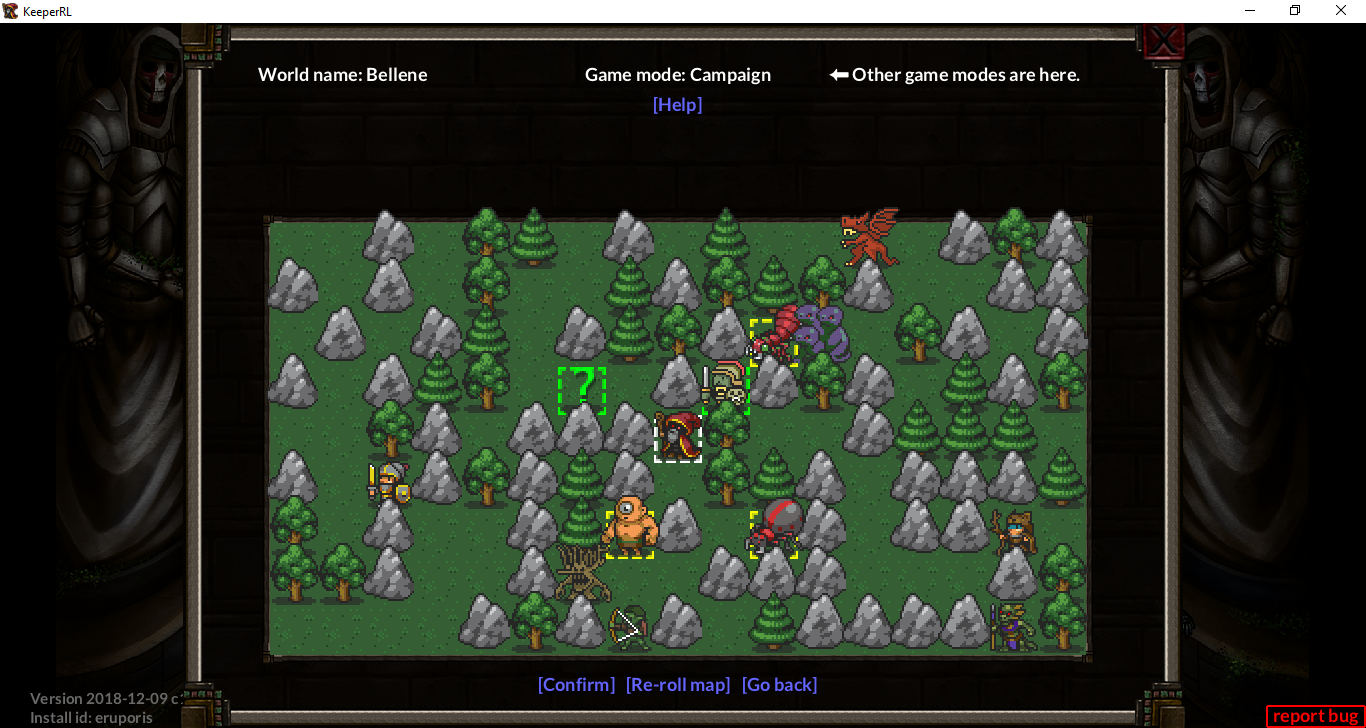
You can experiment with the game set up. When you click confirm a map is generated for you and you will now be launched into the overhead view. Here you can start building your dungeon.
Victory Objective
Claim victory by conquering all the Major Villains (outlined in red) on the campaign map. Next, finalise your defences and upload your map, so that adventurers and keepers belonging to other players can then invade it.
Starting position
You start with your Keeper and 4 minion Imps. The screen may look like this:
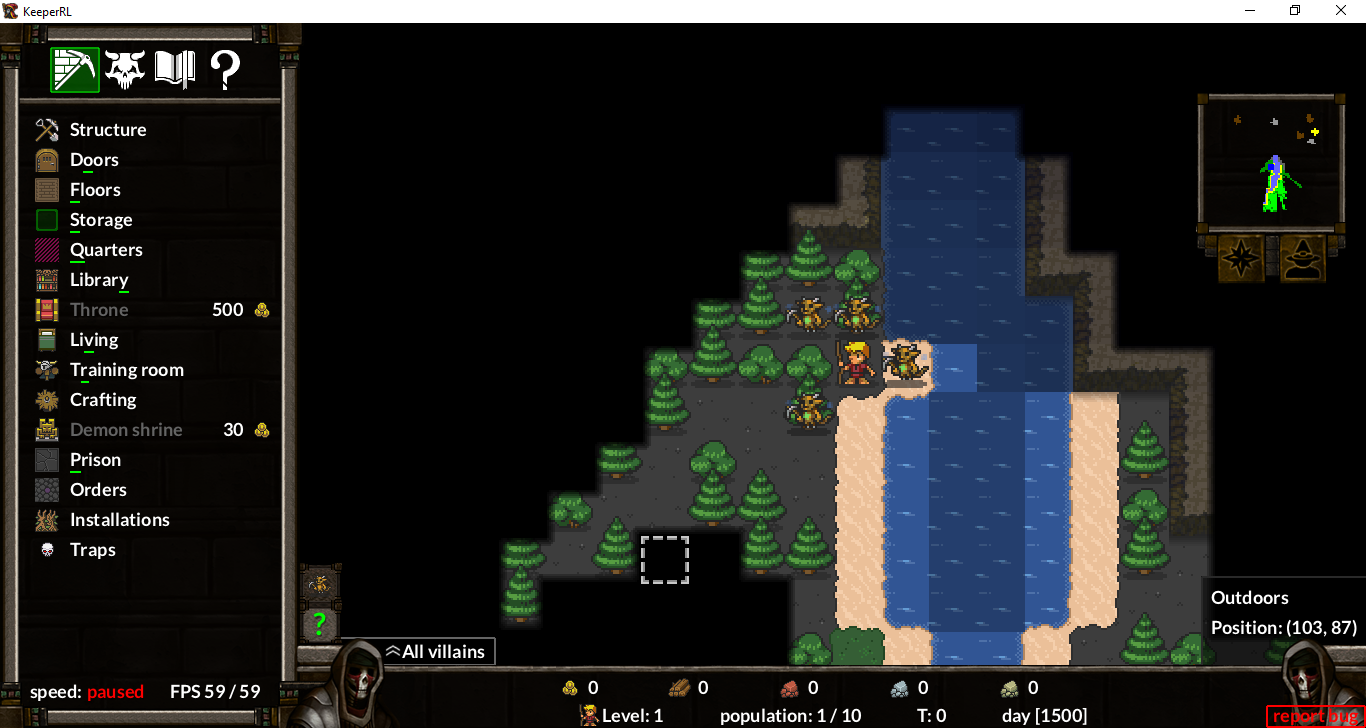
You will occasionally see text in orange. These hints will provide you with ideas on what to do next. When playing the tutorial, there are step-by-step instructions at the bottom of the screen. Campaigns have a campaign map, which contain other map sectors and appears before you start the game. The main villains and allies will be found on this master map. View this during the game, using the compass icon.
Game options
Press escape to view the game options. Save the game, abandon it or retire (after winning). Change graphics and sound etc.
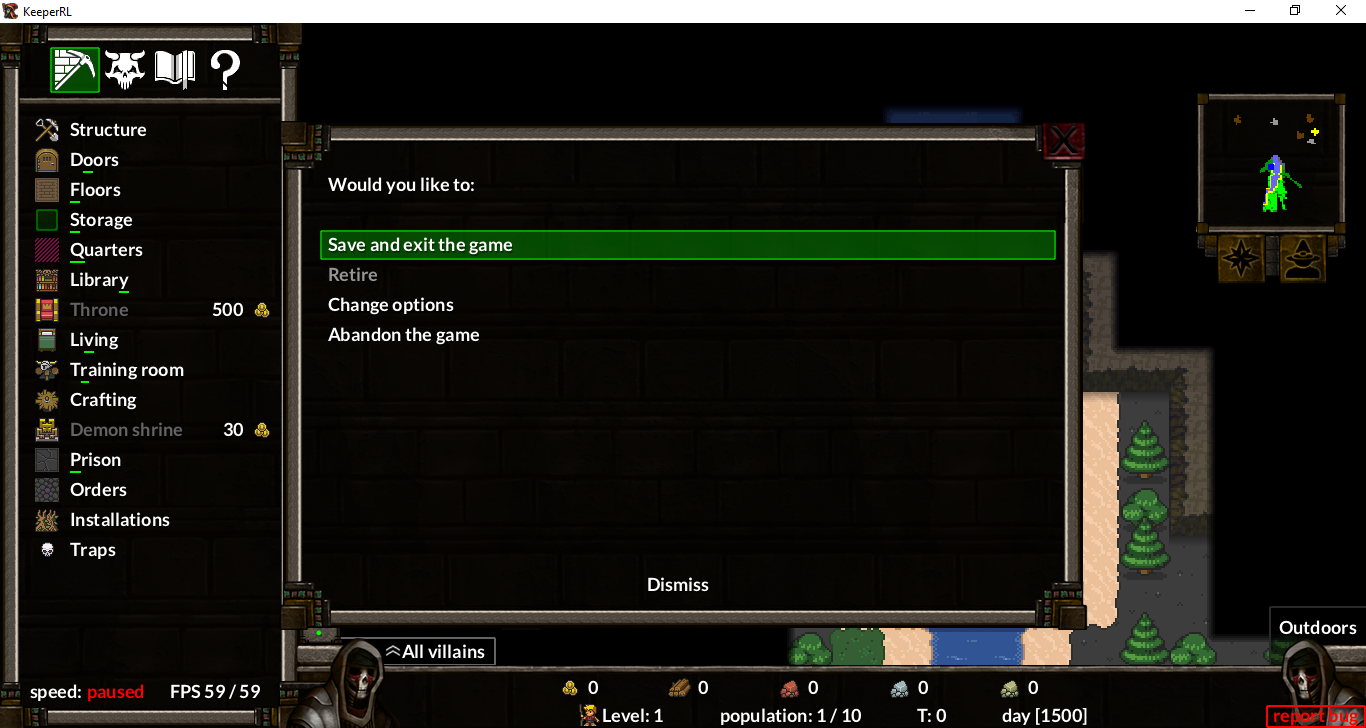
You can also pause the game at any time by pressing space. This will give you time to think and issue complex orders. If it looks like you are winning, you can increase the game speed to fast-forward it (until you are invaded).
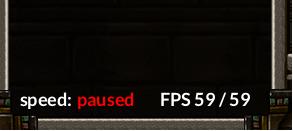
Later in the game and depending on your level of arrogance, insensitivity and violence, many hostile forces may start to get worried about you, and eventually send their troops to Do Something.
Tabs
The four menu tabs in the top left corner of the screen are as follows:
- Construction (pickaxe icon)
- Minions (horned face icon)
- Research (book icon)
- Help (question mark icon)

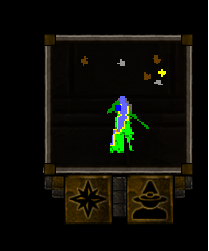
Below the mini map in the top right are two buttons
- Campaign Map (compass icon)
- Find keeper (keeper icon)
Resources and resource stats
Along the bottom are your resource stats:
Gold: Can be obtained by looting defeated enemies or mined by imps from yellow gold tiles found in your dungeon. This precious metal is essential for hiring powerful creatures and constructing luxurious rooms.
Wood: Can be obtained by designating a resource stockpile and ordering your imps to chop down trees. This natural resource is essential for constructing traps, doors, and other wooden structures in your dungeon.
Iron: Can be obtained by designating a resource stockpile and ordering your imps to mine iron tiles found in your dungeon. This metal is essential for crafting weapons, armor, and other metallic structures such as the Prison.
Adamantium: Can be obtained by assaulting adamantium golems and mining their ore, or found deep underground. This rare and powerful metal is essential for crafting the strongest weapons and armor in your dungeon,
Stone: Can be obtained by designating a resource stockpile and ordering your imps to mine white stone tiles found in your dungeon. This sturdy material is essential for constructing walls, floors, and other stone structures in your dungeon.
Adoxium: Can be obtained by mining only at very deep levels underground. This arcane metal is essential to craft the most powerful magic gear, speeding spellcaster cooldowns and supporting multiple glyphs.
Infernite: Can be obtained by mining only at very deep levels underground. This volatile material is essential for crafting weapons that deal flaming damage, making them particularly effective against enemies that are vulnerable to fire.
Corpses: Can be obtained by defeating enemies in your dungeon and storing them in a Grave. They can be used to raise undead creatures, which can serve as powerful minions and defenders for your dungeon. Raising undead creatures may require coffins or a morgue table.
Angel Piety: A hidden resource that can be obtained by performing acts of worship at a holy altar. This resource can be used to recruit angels, powerful creatures that possess divine abilities.
Demon Piety: A hidden resource that can be obtained by invoking them at a demonic altar. This resource can be used to recruit demons, powerful creatures that possess dark abilities.

(Under the resource stats you can also see your population limit, which turn you are in and how much daylight or night is remaining)
Advanced players may loot enemy dungeons by controlling an imp and carrying resources back to base. (Imps can carry endless items in their magic pockets because they have no maximum weight limit). When an enemy is entirely defeated, you can select the tribes strip and use the pillage option to loot the enemy instead.
Building Your First Dungeon
The main benefit of playing a keeper is that you can build a dungeon. (Adventurers can only invade dungeons.)
Feel free to look around the map a bit. Clicking in the minimap will expand it for a better view; clicking in the expanded minimap can move your camera to that location. On your surface level, there may be some stone deposits (grey areas in otherwise unexplored terrain) but chances are you’ll have to mine up or down to get to the iron, stone, and eventually gold.
Structural
The first thing to do is simply start digging! On the top right are the various action icons. The pickaxe icon (the leftmost one) gives you the orders you can give your imps. The top one is called Structures, and the first item there is “Dig or cut tree”. (By default, pressing “d” will toggle through the Structure tasks, so if nothing else is selected, press “d” to Dig.) Select that one and have the imps start digging.
You can be as creative as you want when it comes to designing the layout of your dungeon. The imps dig fairly quickly if they are not mining ores; stick to the plain black area and they can dig large rooms in a reasonably short time. It’s generally best to make rooms rectangular or square; 3x5, 5x5, or 7x7 are generally good sizes to work with.
In the event you order something but change your mind, click the same order on it again to cancel. If the imps have already dug out the wrong stone square, though, it’s Too Late. (You’ll be able to order it filled back in once you have some stone.) ;-)
There’s a good chance you’ll encounter underground water where you’d like to go. You can build Bridges to safely cross it (Small & Medium folks like imps and goblins are too small to safely wade through even Shallow water, but human Keepers are taller and can touch bottom. Deep Water, however, requires Swimmer, Flying, or a bridge) or, if you insist on building RIGHT THERE, you can fill the tile in using your stone.
It is possible to reinforce walls and block in tunnels, although it is generally a bad idea to cut yourself off from the outside world completely (If invaders can’t get in, they will dig to destroy your walls, which is usually worse than giving them an “easy” way in strewn with traps). Some creatures like ants and dwarves sometimes prefer to dig their way in anyway.
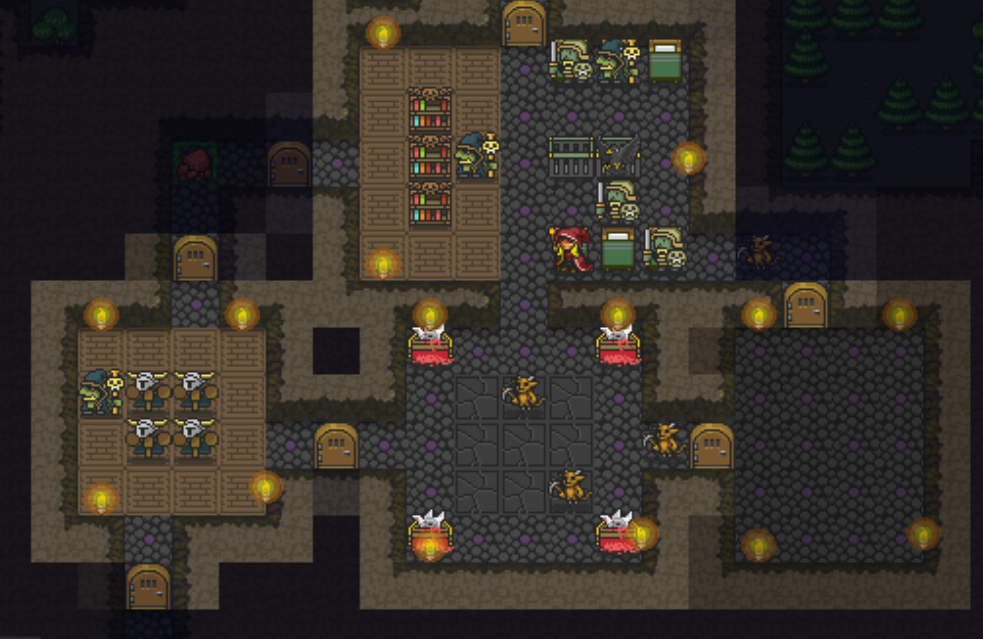
Eventually, you’ll run out of space or need to find resources. You can build stairs up or down the using the relevant option. Stairs are built precisely where you order them, with no deviation from one floor to the next. If you anticipate needing to move up or down in several areas, you can build several stairways.
Construction
Various Constructions are possible. Once you have the space dug out, construct items by clicking on the pickaxe icon, then the relevant menu. For example, your creatures will need Living space, and then specifically beds: once you’ve designated the place to build them, your Imps will proceed to the site and assemble the furniture. You can similarly assign dungeon squares for storage of Resources and Equipment. Build treasure rooms, dormitories, training rooms, libraries, workshops, forges, laboratories, jewellers, ritual rooms, beast lairs, graveyards, prisons and torture chambers etc!
(Or you can mix rooms! Forges and workshops can peaceably coexist, as can libraries and training dummies. Creatures can sleep and study in the same room. It’s up to you!)
Orders
Use the orders menu from the construction tab to claim (or unclaim) tiles, fetch items, prioritise tasks and remove construction. The selected option will highlight in yellow. Click on the map squares to issue the orders. You can set up forbidden zones (which your creatures will not pass through); this is the best way to stop your creatures angering nearby inhabitants or to keep them locked in a room out of trouble.
Installations
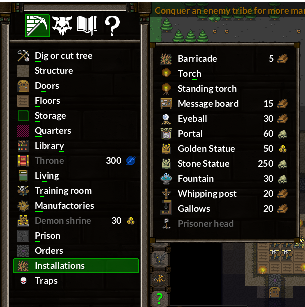
One downside to digging out a subterranean lair is that it gets dark. Creatures can’t read, train, or craft effectively when they can’t see what they’re doing. You can combat this by ordering your imps to place torches, under the Installation menu. (Wall torches are free, but standing torches cost Wood.)
Install doors, barricades, and eyeballs, as well as impaling your prisoner heads, in like fashion. You can also install various Traps, but they require Research, as do Demon Shrines.
Message boards can be built by Keepers to record messages for themselves or visitors.
Portals are, effectively, a point-to-point stairway that can go between two points on the same floor, or two points on different floors. Building one portal will sit there and wait for the second; the second will automatically attune to the first (and both will match color). Subsequent portals will work similarly. You can safely walk past a portal’s tile if you don’t wish to use the portal.
Building Rooms and Gathering Resources
Create storage rooms by clicking the “Storage” icon under the orders menu, then mark out the tile. The floor will change colour. You normally want both resource and equipment storage. There is no practical limit to the amount you can store on one tile, so marking out entire rooms for storage is impractical.
Once resources are in a storage space, they are instantly available for any project in the dungeon. If you are familiar with other games such as Rimworld or Dwarf Fortress, your workers need NOT transport resources to the job site or crafting station in order to build or craft things in KeeperRL.
You can also designate resource-storage spaces outside the dungeon, which can come in handy in the early going. Just be careful as folks who want to steal your resources would have an easy time if they’re outside and unguarded. (Not many folks want to steal wood. Gold, though, is popular.)
Now that you have a storage space allocated, you can have the imps start cutting down trees. Use the “Dig or cut tree” option, dig out the mountain, and also mark trees. Do some mining. Rocks inside the mountain will be visible.
Summoning Extra Imps
Whenever you have enough gold, the Keeper can summon more imps. Simply click on the imp icon on your immigration panel. Additional imps can speed construction and other sundry projects, but the cost increases exponentially. Most players generally prefer to augment their imp force with Prisoners instead.
(Should your imps be killed, the Keeper may summon sufficient imps to replenish up to four. You cannot lose due to lack of workers.)
Library and Training Room
Early versions of KeeperRL (and thus, early walkthroughs) relied on the Library to develop new technology. In KeeperRL 1.0, bookshelves attract spellcasting minions and let them train their spellcasting abilities (thus improving their spell selection, too) but are not of themselves vital to improve the dungeon’s technology.
Have the imps dig out another room, usually at least 5x5 but it can be bigger. Make sure you have some wood stockpiled as well.
Then simply build your library in that space from the orders menu. Each bookshelf can attract one caster, but the wooden ones will only train to level 3, so you don’t need that many. One to three will probably suffice for now, but leave room to build the better bookshelves as your technology improves. The bookshelves will get in your way, so place them one-by-one at suitable locations.
Training rooms for melee combat operate on very similar principles, simply exchanging training dummies for the bookshelves. Here, it’s particularly important to save room for Iron dummies, as the better creatures available will require Iron rather than Wooden dummies.
Crafting rooms
Crafting stations allow production of equipment, such as armor and weapons, for your troops. You generally only need one crafting station of each type, since as many creatures can effectively craft at the station as can fit around it. A Workshop is a good idea so you can produce leather gear and (eventually) bows.
If you’ve followed these past few paragraphs, you will have attracted some basic creatures to your dungeon already.
Minions
You need to build facilities to attract monsters into your dungeon. Some Minions will set up home with you if you just give them a dormitory to rest in. Other monsters would like places to train, or build things. Build a graveyard to keep corpses and you may be able to raise the dead. Other types of creature may be summoned with sufficient rituals at your shrines.
Control of a Minion
Select the minions icon (the horned face) to see a list of your current types & quantity of minions, as well as any teams you may have created. Click on each type of minion to see a list of each individual creature and their level. Click on any individual creature to see their minion management screen where, among other things, you can take direct control of the minion.
(After taking over a minion’s will, pressing “u” returns to the “overview ” mode.)
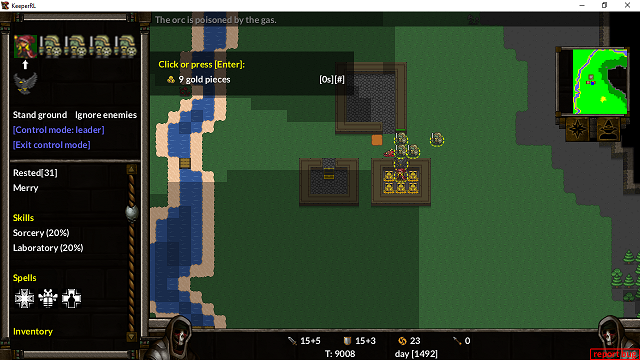
When in control of one or more minions, you can press ‘t’ or click the compass button under the minimap to travel to other map sectors on the campaign map. It is possible to select a whole team of minions, control them and invade. To do this, click on the team on the left panel of the minions tab, then select a team member and click “control”. Press ‘g’ or use the “control mode” button to toggle between managing the leader with the rest of the team relying on their AI, or managing each individual in turn.
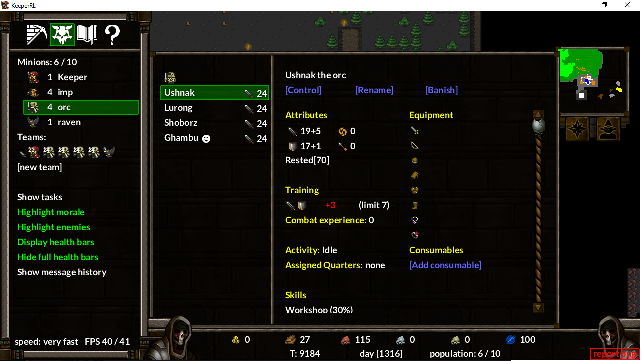
Options on the minion management screen
You can banish, rename, assign or immediately direct activities, assign equipment, lock equipment, and view relevant information on minions here as well.
If you’re wondering whether a minion needs more training experience or perhaps should be tasked to defeat an enemy boss, this is the place to look.
Population limit
There is always a maximum population limit that your dungeon can hold and this is displayed on the bottom of the screen. Typical dungeons can support a population of 10 creatures (including the Keeper themselves) plus the workforce, whether imps, peasants, prisoners, or other such plebs. You can attract and command more creatures by building various features. Impressive statues, for example, increase the lure of your dungeon by 1 population. However, a decent statue costs gold or mana (depending on which version you are playing). Your monsters will not actively take your money, but the prospect of an increased and varied meat supply (from the livestock-farm plots) will increase your population cap. When you are ready and have achieved sufficient dungeon malevolence, you can build a throne for yourself and gain command of up to 10 more minions, as well.
That said, several factions in the world may feel threatened by large and well-populated dungeons, so pace yourself. Likewise, setting yourself on a throne is totally offensive to many tribes, good and bad.
Population management
Minion morale is not as important in KeeperRL 1.0 as it was in previous versions. Nevertheless, high morale improves performance and treating your creatures well will pay off. In particular, dining tables for the humanoids & haypiles for the beasts will ensure your creatures are well fed, beds & stables will keep everyone rested, and Entertainer or Copulator minions will perk the team up.
And most everyone enjoys fighting and winning. ;-)
Quarters
That said, as creatures fight, make kills, and become veteran soldiers for you, they will want nicer quarters for themselves, ranging from merely an assigned place to call their own (“As a matter of fact, this bed DOES have my name on it.”) to a lavishly carpeted chamber with finely reinforced walls, framed art, fountains, and possibly a private altar so they don’t have to mix to worship. Without Quarters suitable to their experience, your minions will perform at the level they perceive you feeling they’re worth.
In order to assign quarters, use the Zones function to designate an area as Quarters, then click that area to bring up a menu of your minions. You can rest the cursor on individual minions to see a snapshot of their stats: in particular, folks with “unrealized experience” are looking for better quarters, and may be candidates for the space you’re assigning.
Resting the cursor on a Quarters area will show its current luxury value as well as its currently assigned occupant, if any. You may reassign quarters from one creature to another without penalty (aside from the previous occupant now lacking quarters).
“Retirement”
Unfortunately, some creatures may outlive their usefulness, whether through a career-ending injury or simply falling behind the power curve.
You have the option to banish them, or you could perhaps send them on a suicide mission. Some keepers like to possess weak creatures and then drown the in a lake or river. Other players throw things at them, use them as target practice and kill them that way (It is possible to get some experience from them, but you should expect them to turn hostile and try to fight back).
And some Keepers prefer to keep their loyal minions on. After all, they were there when you needed minions to support you…
Tribes
You will have to travel to other map sectors to find the bases belonging to most of the bigger tribes and to do that, you will need to control a team or minion (see “Direct Control of a Minion”).
Look on the tribes strip to see information about other known tribes. Destroying a tribe will grant dungeon XP (sometimes called “malevolence”) and allow you to pillage, which instantly transfers resources and equipment on the defeated faction’s territory to the relevant storage in yours. (If you don’t have storage for something, such as a grave for the starting bandit corpses, you can’t pillage those.)
Full conquest of all the tribes will allow you to retire victorious (only to be invaded by other players).
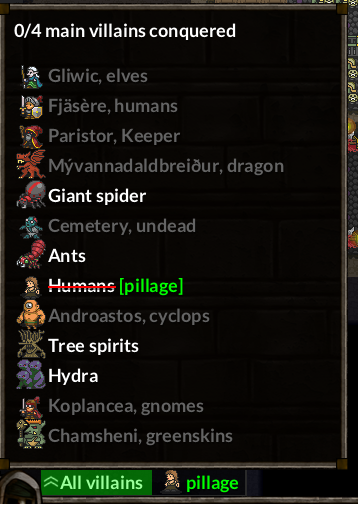
The world we live in is inhabited by many creatures. For example, you may meet bandits, dragons, dwarves, elves, lizardmen, humans, spiders, scorpions, gnomes, undead, dark elves, minotaur, hydras, giant ants, elementalists, witchmen, kobolds, driads and cyclops… (there are a few more). Some creatures will hold you to ransom and attack you if you don’t pay. You can usually see the reason an attacker is assaulting you on the tribes strip. There are allies you can recruit and shops where you can trade.
The “righteous” tribes will be happy to murder your kind, actually. Your role and allies are defined at the beginning of the game. However, most tribes can be provoked further by attacking or stealing things from them, setting yourself up as a king or queen, hoarding piles of gold etc.). If you are feeling really submissive, you can even pay them tribute to avoid any confrontation, however a showdown is inevitable eventually.
Prisoners
Once you build a prison from iron, you can take prisoners. When fighting with humanoids, you can right click them to order their capture (take them alive). Once knocked out, they will appear on your immigration panel, and you have 300 turns to capture them, before they die.
(If you’re away from home, you need to defeat the faction where they are in order to capture people, and the 300 turn timer starts when the prisoner goes down. Taking too long on-site can lead to captives bleeding out!)
Next, build a torture table and torture your prisoners to try and convert them. Converted prisoners keep their stats and join your dungeon! Some prisoners, however, will prefer to die than convert. (If your workers are very busy, it’s possible that they may simply send the prisoner back to the prison population, too.)
Otherwise, execute them on a gallows for their heads to be hung up. Alternatively, absorb your prisoners with a doppleganger or else just keep them to work in your mines. Some prisoners have spells and useful skills, such as gnomes who are good at making jewellery.
If you have a small army and a large number of slave prisoners, though, they may try to escape. Your Villain bar will keep you informed of the relative risk of such a mass breakout attempt.
Equipping an army
Regarding equipment, you have two main options, each of which is valid for different purposes:
- Production queues
1) Some facilities will provide you with a production queue when clicked on, such as the workshop or forge. Here you can command production of weapons, armour, jewellery, potions and some other things. It will cost resources, but your creatures are generally happy to produce these if they have the skills. With the proper facilities, you can reliably produce gear better than that available to most enemy factions.
- Looting
2) Some equipment can be got from invaders. You can also control a creature and go on a rogue-like assault of a hostile force nearby to get loot. Conversely, other factions in the world typically have access to more varied gear than you do. For example, Lizardmen may not have much in the way of weapons or armor, but they have a potion capable of restoring broken or lost limbs…
Training an army
Some creatures learn spells in the library. Others gain levels by training against dummies in the training room or pincushioning targets on the archery range.
Some creatures can train and learn spells, some can do neither. Better training facilities will get better results.
Invaders
Rumours about your dungeon will spread as it grows. These will attract recruits but can also attract invaders. Invaders may be out to plunder your gold, gain combat experience or just to assassinate your Keeper. Invaders may carry useful items to loot and can also help you gain combat experience. If you are overpowered by an invading force, such as a cyclops, a human army, or a dragon, you may need to evacuate your Keeper out of a back door. Sometimes invaders may call off an assault, perhaps if they were only aiming to break your dungeon as a threat or loot it for valuables. However, other invaders who seek to END your reign of terror may well capable of tracking your keeper across the map.
Exploring the Map
Directly control a minion or team, then explore the map using the arrow keys. Kill local monsters and tribes by commanding a party. New teams are set up by clicking “New team” on the Minions tab. Then select individual creatures to add them to the team. Select the minion you want to lead your party and click command to control them. Think carefully before trying to loot a dragon’s hoard or waking up a cyclops. Some nocturnal animals will want to go out at night to hunt and also have good night vision.
Be careful while exploring, as you may bump into an unexpected situation. With proper planning and foresight, you will find friendly tribes you can recruit. You will also come across major enemies that you must defeat to win the game. Minor enemies that you can tolerate but may attack you occasionally and also small random settlements such as villages and inhabited caves, which will not be able to counter-attack against you. There are forest animals such as deer, foxes and boars. Don’t get killed by a dog while wandering about at level 5 with no weapons and armour!
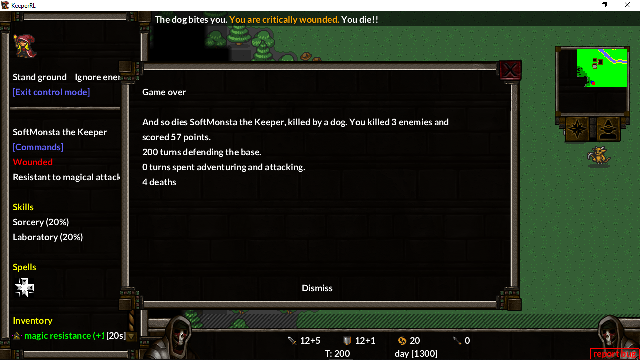
Winning the game
Some monsters that you meet will be pleased to join your forces. Others will be hostile to you and perhaps hostile to the other settlements. You may tolerate the existence of minor pests such as a no-account bandit lair, but you must wipe out all the major forces on the tribes strip. There are some monsters such as dragons that may die when they invade you. You will normally need to go on the offensive at some point by forming a team and controlling a minion directly to kill all your rivals. Then you will get given a score, and that’s how to become a notorious villain in the world of KeeperRL.
Don’t forget to retire your dungeon (over an internet connection) to provide other people with the pleasure of bringing you to justice.
Enjoy!
Other items in this section